Control Surfaces
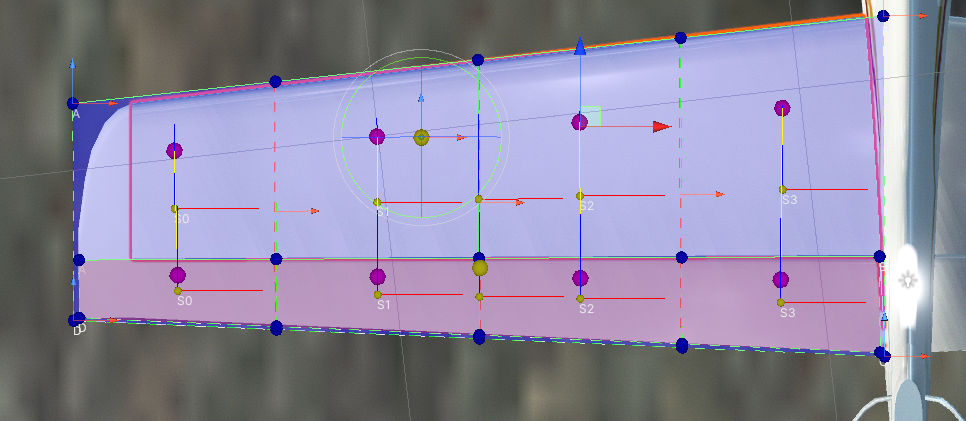
ControlSurfaces are components that are attached to Airfoils to make
them into elevators, rudders, flaps, etc. While they can be used as a
standalone Airfoil, they are usually part of another Airfoil, e.g. a
wing.
They require AircraftController and AircraftInputManager to be
attached to one of the parent objects.
Before setting up a control surface, read the Airfoil page.
Setup
This example sets up an aileron attached to a wing.
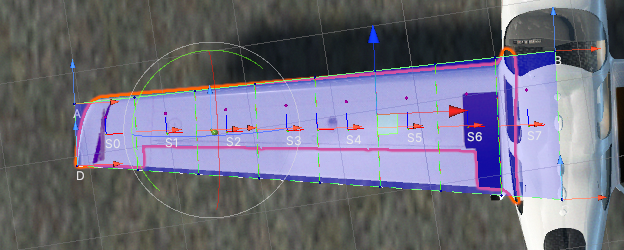
- The wing
Airfoilshould be set up as in the image above, as per theAirfoilsetup guide. Ideally, the wing should also cover the control surfaces (in this case an aileron and a flap).
- Select the aileron object:
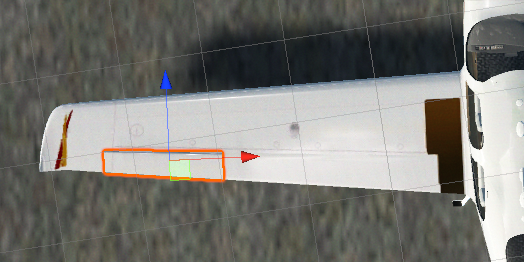
- Attach
Airfoilcomponent and tickIs Control Surfacein theAirfoilinspector.Airfoilgizmo will turn red.
- Adjust the
Airfoilif required.
- Attach one of the control surface components to the aileron, in this
case
AileronControlSurface, and adjust its settings if needed. The control surface component must be on the same GameObject as itsAirfoil; it logs an error and disables itself otherwise.
- Select the wing
Airfoiland at the bottom of its inspector add theAileronControlSurfacefrom the previous step. This will tell the wing that the aileron belongs to it.
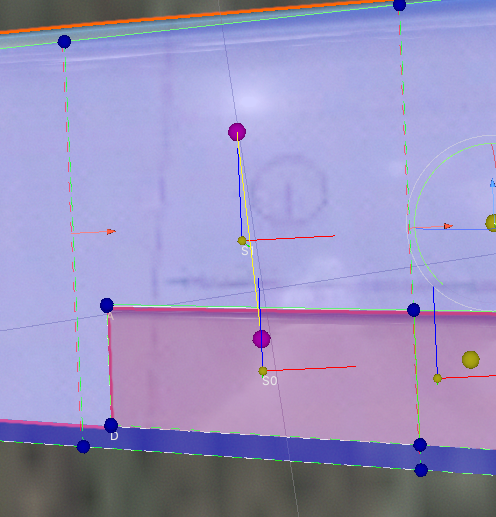
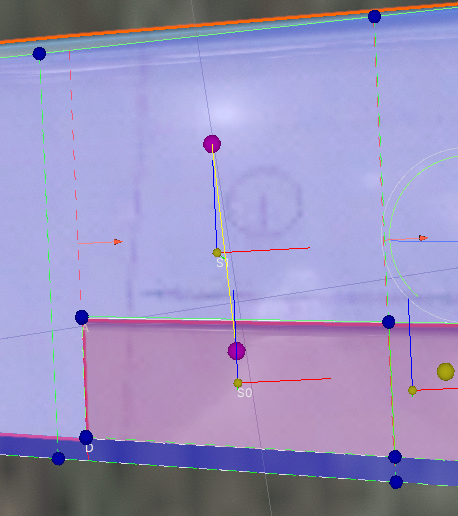
- The parent airfoil controls slicing of its control surfaces. Slicing the wing also slices the aileron airfoil along the same lines. The slices should roughly match so they can be paired automatically for realistic control surface simulation. A yellow line gizmo marks each pair between the wing airfoil and control surface:
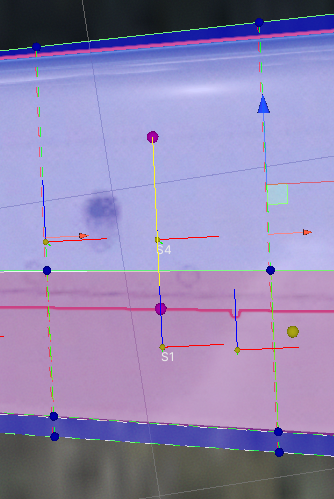
- Adjust the slicing points on the wing (red arrow handle) to match the edges of the control surface, an example:
- With the
AircraftControllerset up, the aileron will work when you press Play.
Control surface `Airfoil`s that are not
attached to a fixed `Airfoil` need to have `isControlSurface` unticked
as they act as standalone airfoils that can simply be rotated, instead
of being a part of a wing.